How to Set Up an Ergonomic Home Office Chair Correctly (5-Step Biomechanical Guide)
A step-by-step engineering guide to adjusting your office chair height, lumbar support, and armrests to prevent lumbar strain during long workdays.
⚡ Quick Picks: Our Top Recommendations
Updated: July 2026Prices and availability are accurate as of July 2026 and are subject to change.
ErgoFoam Foot Rest
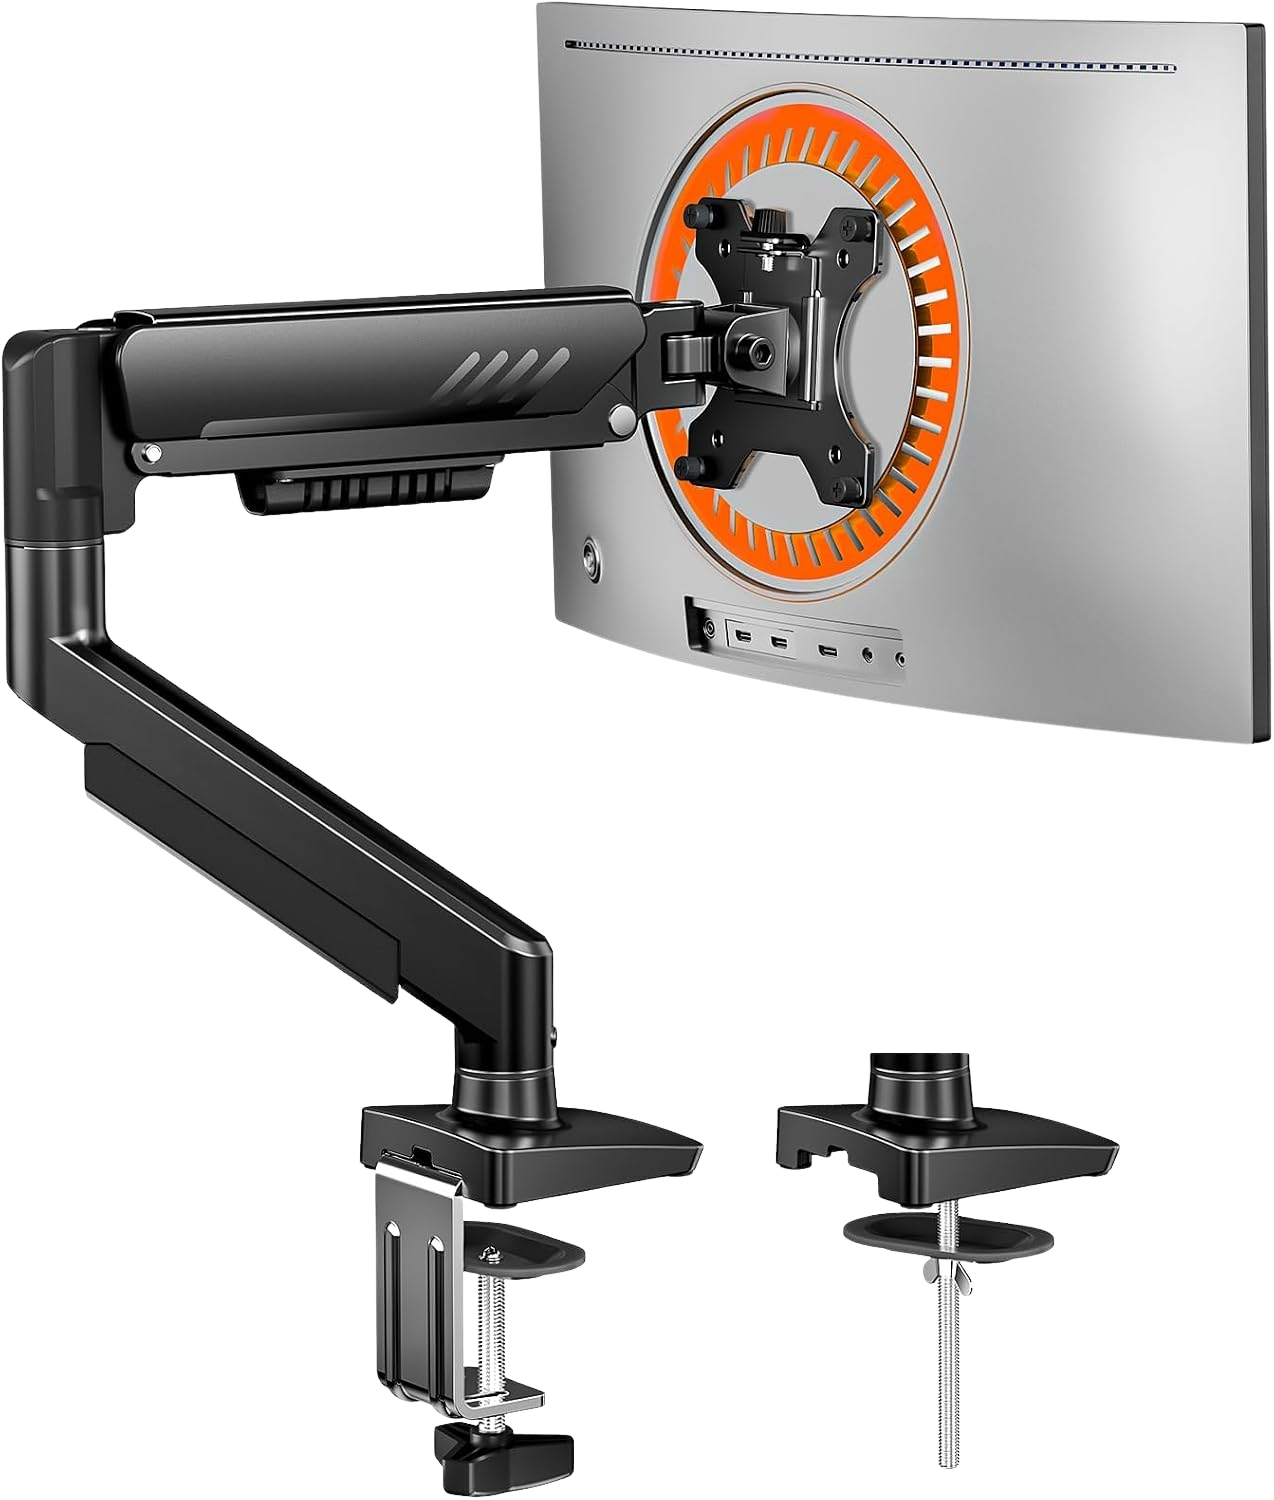
ErGear Monitor Arm
Most people sit incorrectly even in a $1,000 chair. The adjustment sequence matters as much as the chair itself. You can spend $755 on a Herman Miller and still compress your lumbar discs all day if you dial the seat height before the lumbar support, or skip the seat depth check entirely. This guide fixes that sequence.
The 5 steps below are ordered biomechanically — each one creates the correct reference point for the next. Skip steps or do them out of order and you'll spend an hour fiddling with controls and still end up in the same bad position you started in.
If you're still deciding which chair to buy, our complete ergonomic home office setup covers the full picture from seat to screen.
Step 1: Establish Proper Seat Height (The 90-Degree Knee Rule)
Seat height is the foundation. Every other adjustment depends on it being correct first.
Stand in front of your chair. Raise the seat until the top of the seat pan is level with the back of your knee — roughly at the crease behind your kneecap. Now sit down. Your feet should rest flat on the floor with your knees at approximately 90 degrees and your thighs parallel to the ground.
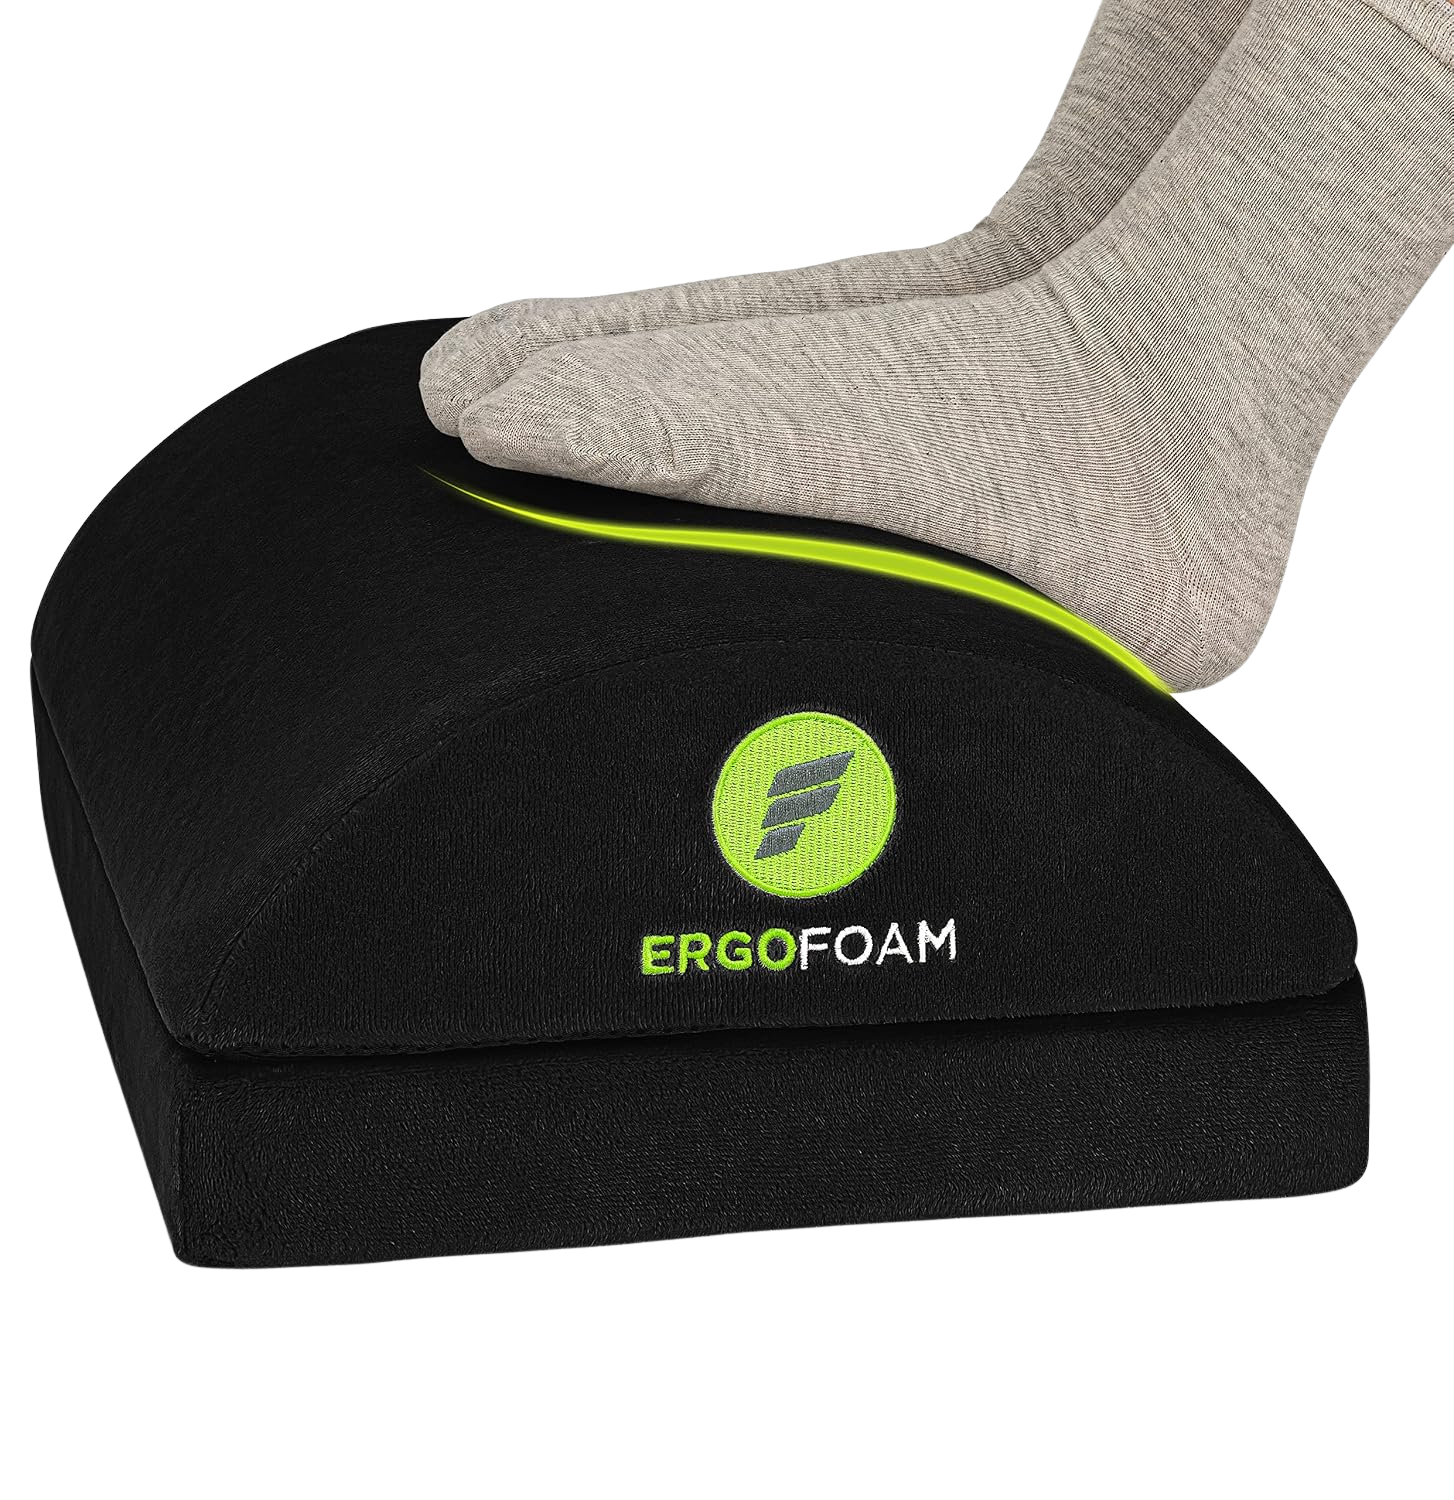
If your feet don't reach the floor after this adjustment, you have two options: lower the desk, or use a footrest to bring the floor up to you. A footrest is almost always the faster fix.
Verify the position: slide two fingers under your thigh at the seat edge. You should feel mild pressure. If you can't slide your fingers under at all, the seat is too high and is cutting off circulation. If your fingers slide through with no resistance, the seat is too low and your weight is loading your lower back instead of your thighs.
Step 2: Dial In Lumbar Support (Targeting the L1-L5 Vertebrae)
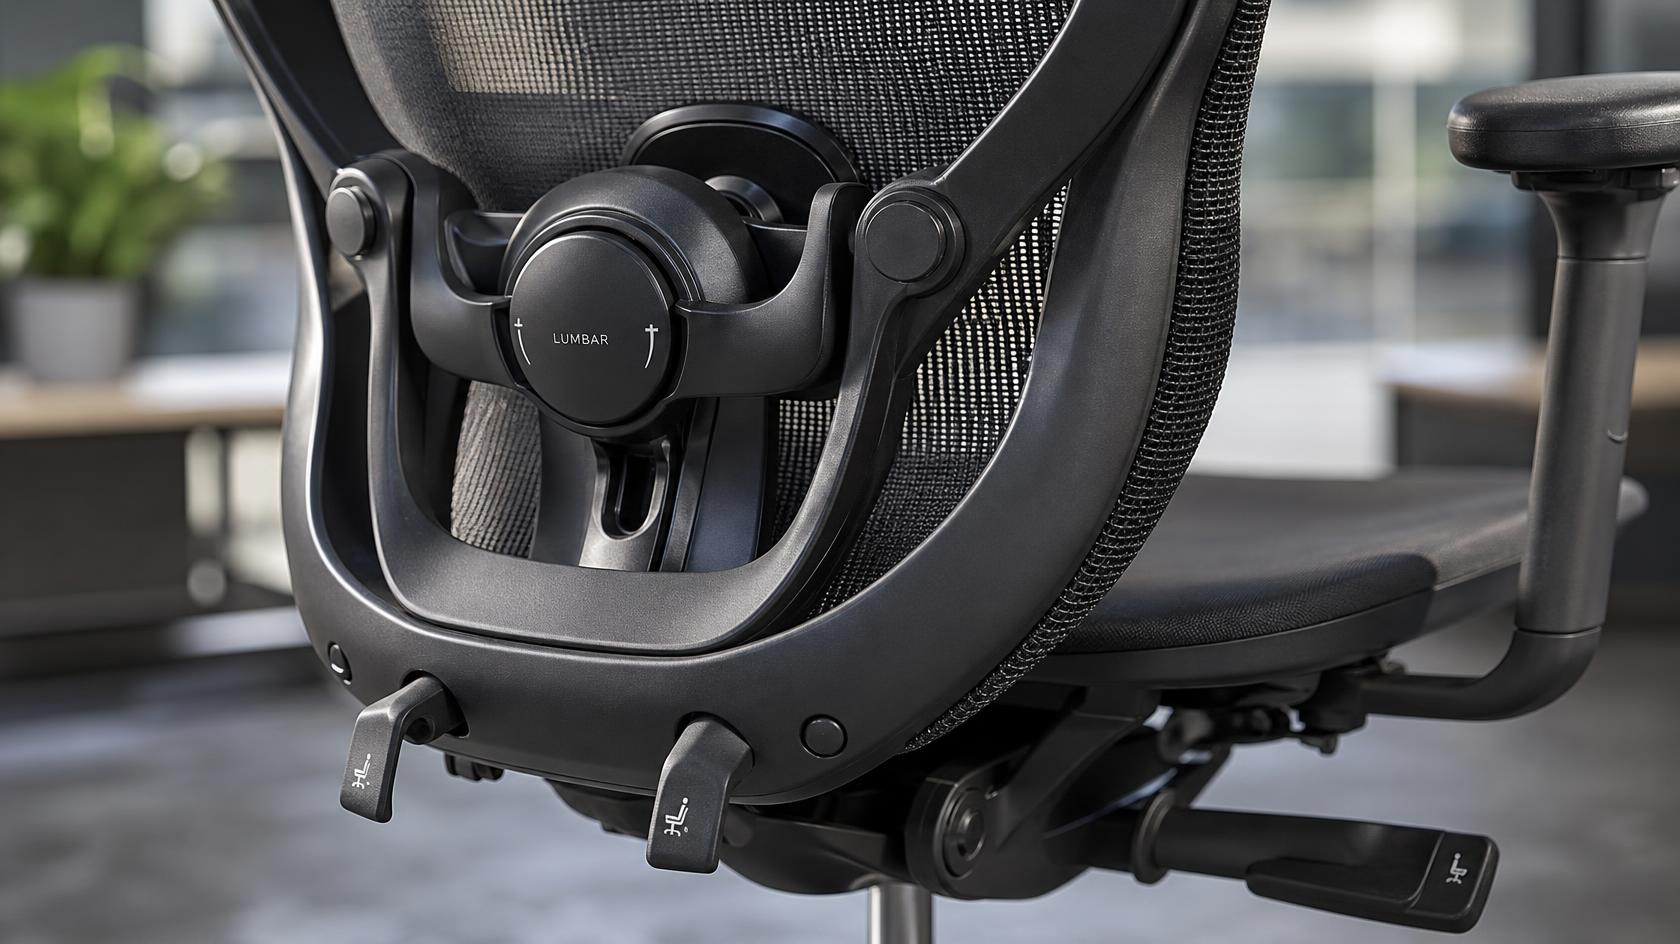
With seat height locked, locate the lumbar support mechanism. On budget chairs this is usually a fixed foam pad. On mid-range and premium chairs it slides vertically and adjusts depth.
Stand up, place the back of your hand flat against the backrest, and find the inward curve of the backrest — this is where the lumbar pad sits at its default. Now sit back down. The lumbar pad should press gently against the inward curve of your lower back, roughly at the level of your belt line. That corresponds to approximately L3-L4 in your lumbar spine.
If the pad is too high, it presses on your mid-back and pushes your spine into flexion. If it's too low, it misses the lumbar curve entirely and you'll default to slouching within 20 minutes. Adjust until you feel a light, continuous pressure that supports your spine's natural S-curve without forcing you forward.
Chairs with only a fixed pad require you to adjust your seat height slightly to bring the lumbar into the correct zone. This is one reason why investing in a chair with independent lumbar adjustment pays off — check our roundup of mid-range ergonomic chairs for options that include this mechanism under $300.
Step 3: Adjust Seat Pan Depth (Preventing Femoral Pressure)
Seat depth determines how much thigh support you get without cutting off circulation behind your knees. Most people never touch this control.
Sit fully upright against the backrest. Look at the gap between the front edge of the seat and the back of your knees. Ergonomics research generally recommends maintaining a 2 to 3 finger gap here. If the seat extends further than that, the edge presses into your popliteal artery and restricts blood flow to your lower legs — you'll feel this as numbness or tingling after an hour.
Slide the seat pan backward until you achieve that 2 to 3 finger gap. If your chair doesn't have seat depth adjustment, you can partially compensate with a seat cushion or by positioning yourself slightly forward on the seat — though this sacrifices lumbar contact.
Step 4: Position Armrests (Unloading the Trapezius Muscles)
The trapezius muscles run from the base of your skull down to the middle of your back. They carry the full weight of your arms when your armrests are positioned incorrectly — and that sustained load is what causes the neck and upper shoulder ache that most home office workers chalk up to "stress."
Raise your armrests until they gently contact the underside of your forearms while your shoulders are completely relaxed and dropped. You should feel no upward pressure on your shoulders — the arms are simply resting, not being propped up. If you feel your shoulders rising slightly when you place your arms on the rests, the armrests are too high.
Adjust width so your elbows sit directly below your shoulder joints. Forearms should run parallel to the floor, with your wrists in a neutral (flat) position over the keyboard. If your armrests have a forward-tilt or pivot function, angle them very slightly inward — this matches the natural angle of forearms when your elbows are at your sides.
Step 5: Align Screen & Recline Tension
With your chair correctly adjusted, the final step is confirming your monitor position and recline tension match your new seated posture.
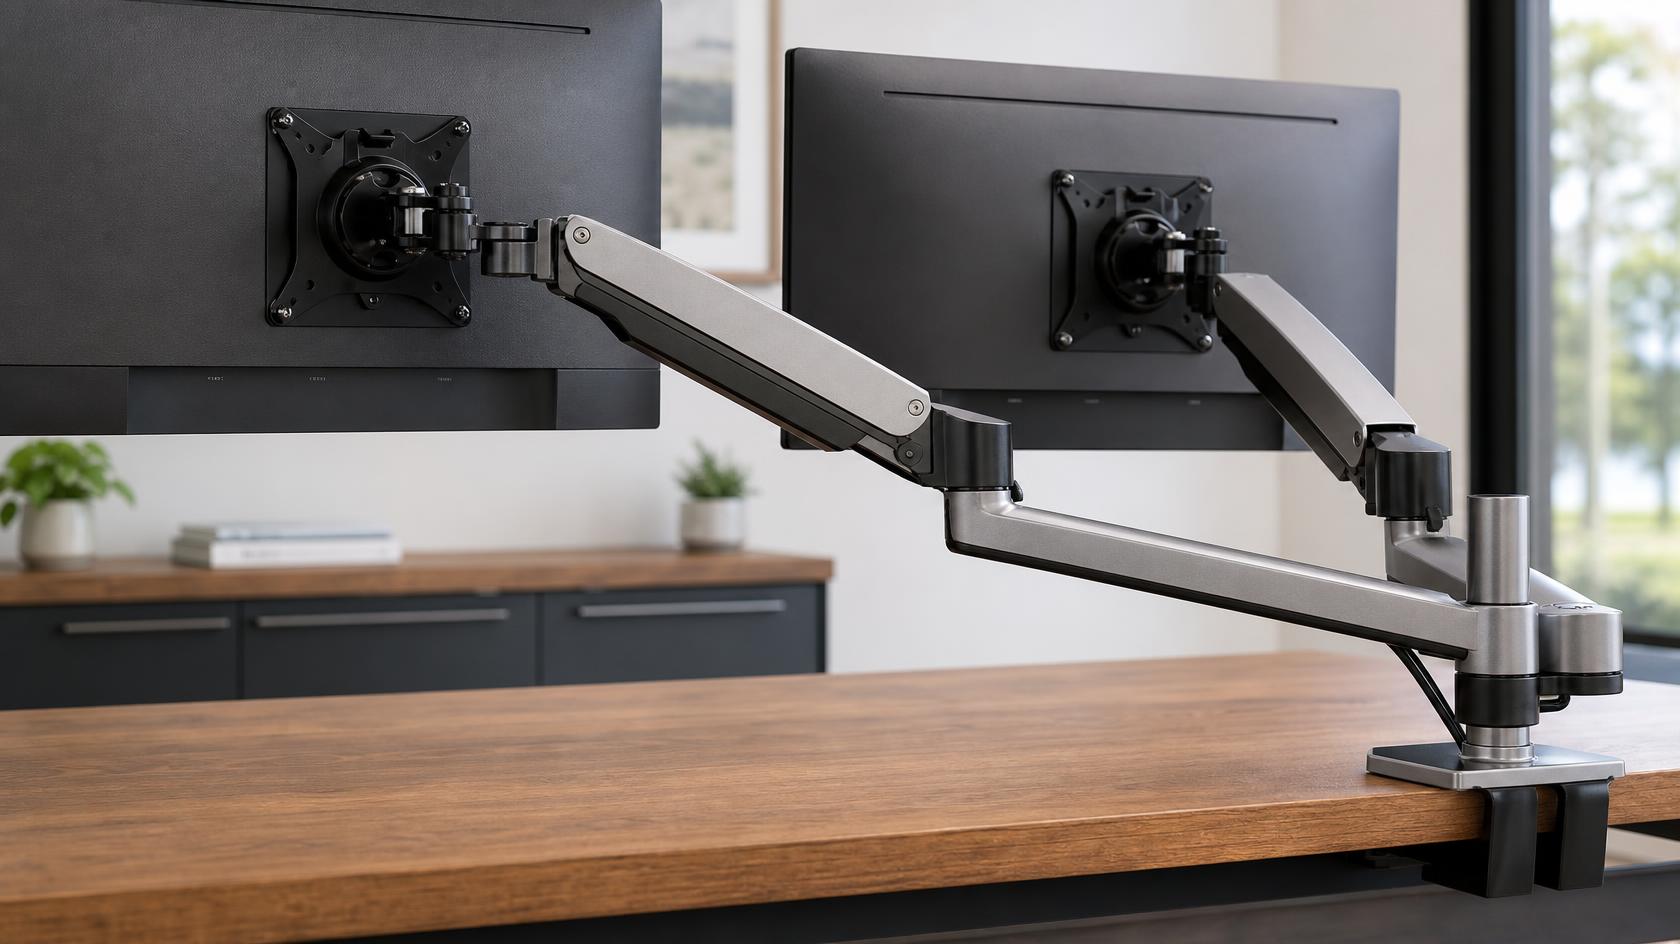
Monitor height: Sit back fully in the chair. Looking straight ahead with a neutral neck, your gaze should land at the top third of your screen — roughly at or slightly below the top bezel. If you're looking down at your monitor, the screen is too low. If you're tilting your chin up, it's too high. A monitor arm fixes this for under $20 and is the single highest-ROI adjustment in any ergonomic setup.
Recline tension: Most chairs have a tension knob under the seat. Tighten it until you need to consciously press back with your lower back to recline — you shouldn't fall back passively just by leaning. Biomechanical guidelines generally recommend a slight recline of 100 to 110 degrees to minimize spinal disc pressure during long desk sessions. This is slightly behind upright, not perfectly vertical.
For a complete guide covering every component of the setup — monitors, desk height, keyboard placement — see our complete ergonomic home office setup.
When adjustment alone isn't enough
Some bodies and some chairs simply don't fit well. If you've worked through all 5 steps and still experience lower back pain, the issue is likely one of three things:
- The chair is the wrong size. Chairs have a weight and height range. A seat designed for users up to 5'10" will not position the lumbar support correctly on a 6'3" frame no matter how you adjust it.
- The seat pan doesn't fit your proportions. Very long or very short thighs are poorly served by chairs that don't include seat depth adjustment.
- You need a footrest. If your desk height forces you to raise the chair higher than your legs allow, a footrest is not optional — it's a mechanical requirement for neutral posture.
If you're working within a tight budget, our roundup of budget-friendly ergonomic chairs identifies the best-adjusted options under $200 that include independent lumbar support.
Frequently Asked Questions
How do I know if my chair height is wrong?
If your feet dangle or if you feel pressure under the front of your thighs near the knees after 30 minutes, your seat is too high. If your knees are above your hips or you feel yourself pitching forward, the seat is too low. The 90-degree knee rule — thighs parallel to the floor, feet flat — is your calibration point.
Do I need a footrest if I have an adjustable desk?
Not always. If you can lower your desk so your elbows are at 90 degrees while your feet are flat on the floor at your current seat height, a footrest adds nothing. The problem happens when desk height is fixed (a common constraint in older offices or shared spaces) and raising the chair to hit the right elbow angle lifts your feet off the floor. In that case, a footrest is the correct mechanical solution.
How often should I readjust my chair?
The setup you complete today should hold. You should only need to re-check it if you change desks, change monitors, or gain or lose significant weight. Some people benefit from a quick re-check every 6 months. The more common issue is not re-adjustment but drift — slowly shifting into bad habits without noticing. Building a 5-second posture check into your morning routine ("feet flat, back touching the lumbar support") prevents this entirely.
Review methodology & affiliate disclosure
WorkWize is reader-supported. When you buy through links on this site, we may earn an affiliate commission at no extra cost to you. Learn more.
At WorkWize, our goal is to save you time. We conduct extensive research by analyzing real buyer reviews, technical specifications, and long-term feedback across Amazon and verified forums. While we do not physically test every single unit in a lab, we aggregate verified data to highlight real pros, cons, and customer flaws. WorkWize does not manufacture, sell, or ship these products, and we are not liable for product variations, defects, or merchant price changes. All purchases are made directly through third-party retailers.
A. Abdessamed
Software Engineer & Founder of WorkWize
A recent Software Engineering graduate (Class of 2026) and tech enthusiast. I built WorkWize to help fellow developers and knowledge workers navigate the noise and find the perfect, pain-free ergonomic setup based on deep technical research.